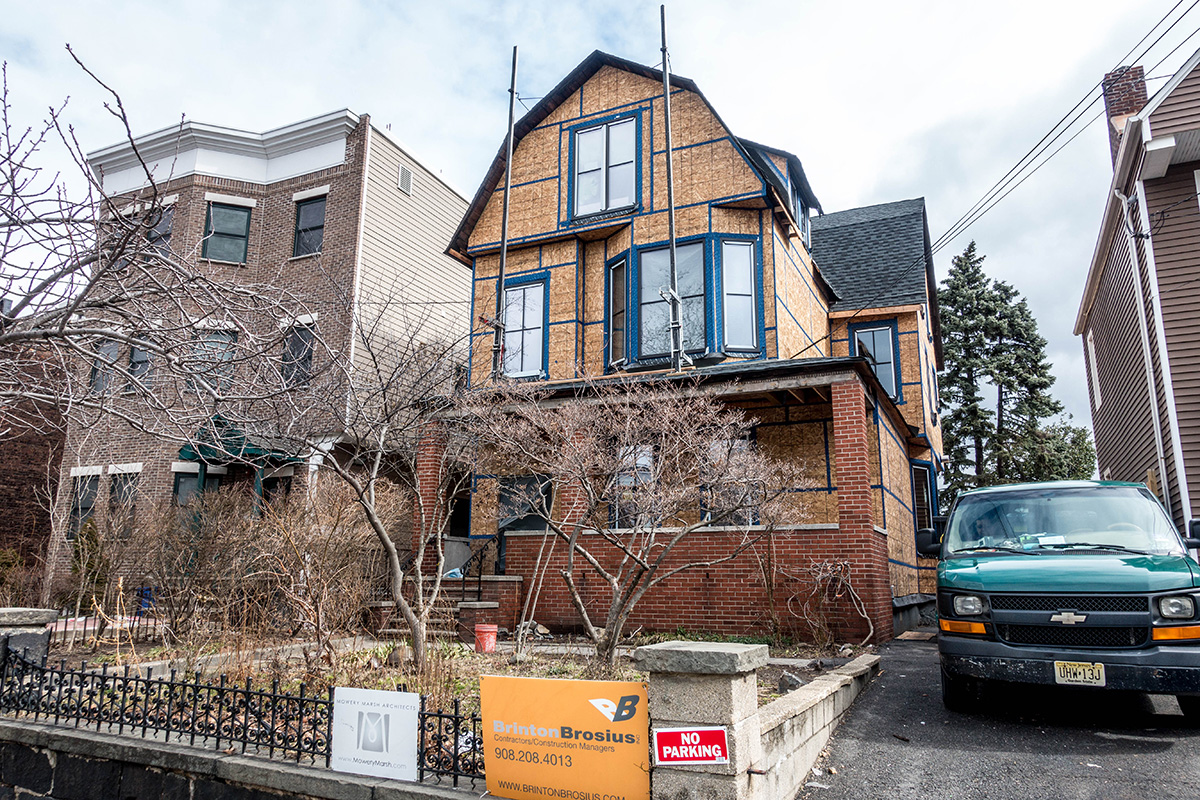
This is the third part of our series covering the construction of Jersey City’s first certified passive house. If you’re just tuning in, you can catch up with Part One and Part Two.
This series is a collaboration with Mowery Marsh, the architects leading this project.
We’ve reached the air sealing phase of our passive house series. Air sealing is the step in the process that most significantly sets Passive House apart from standard construction. Every seam, crack and crevice that has exposure to the outside needs to be properly sealed. Drafts are what make us feel colder and any gaps in the envelope allow air to transfer which causes currents within the house. Who wants a breeze in their house on a cold winter day?! In a passive house, you don’t find any drafts but rather consistent temperature from room to room.
For this project, a subcontractor is brought in, whose main focus is insulation and air sealing to make sure it’s a thorough installation since it’s so critical. They will systematically go through the structure to find the vulnerabilities and given that this is a renovation they’ll need to use various tapes and air barriers to address each varying condition.
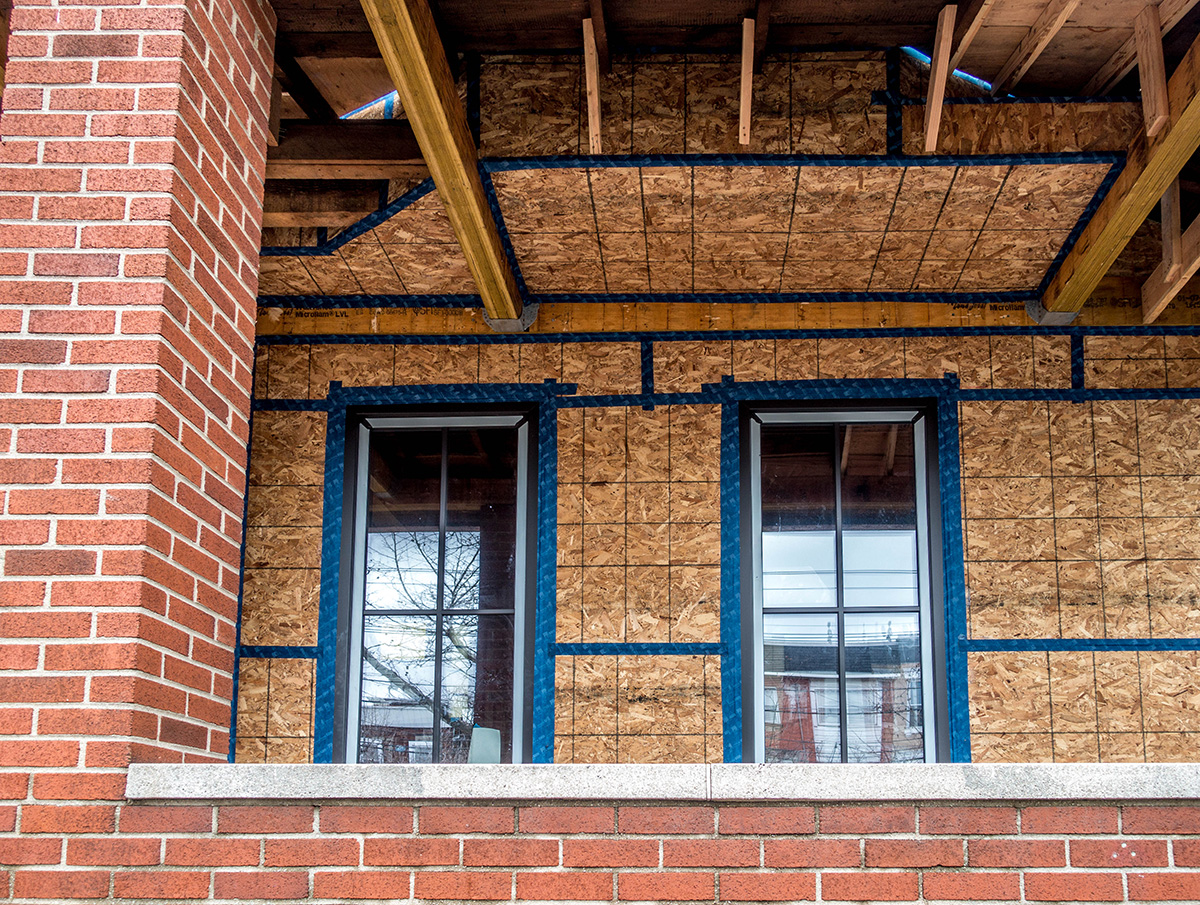
The house has been re-sheathed with OSB plywood to create a smooth surface for the future exterior insulation and siding. However, the seams between the OSB sheets need to be sealed. Here they are using an open vapor acrylic adhesive tape suitable to create an airtight seal at wood panel joints.
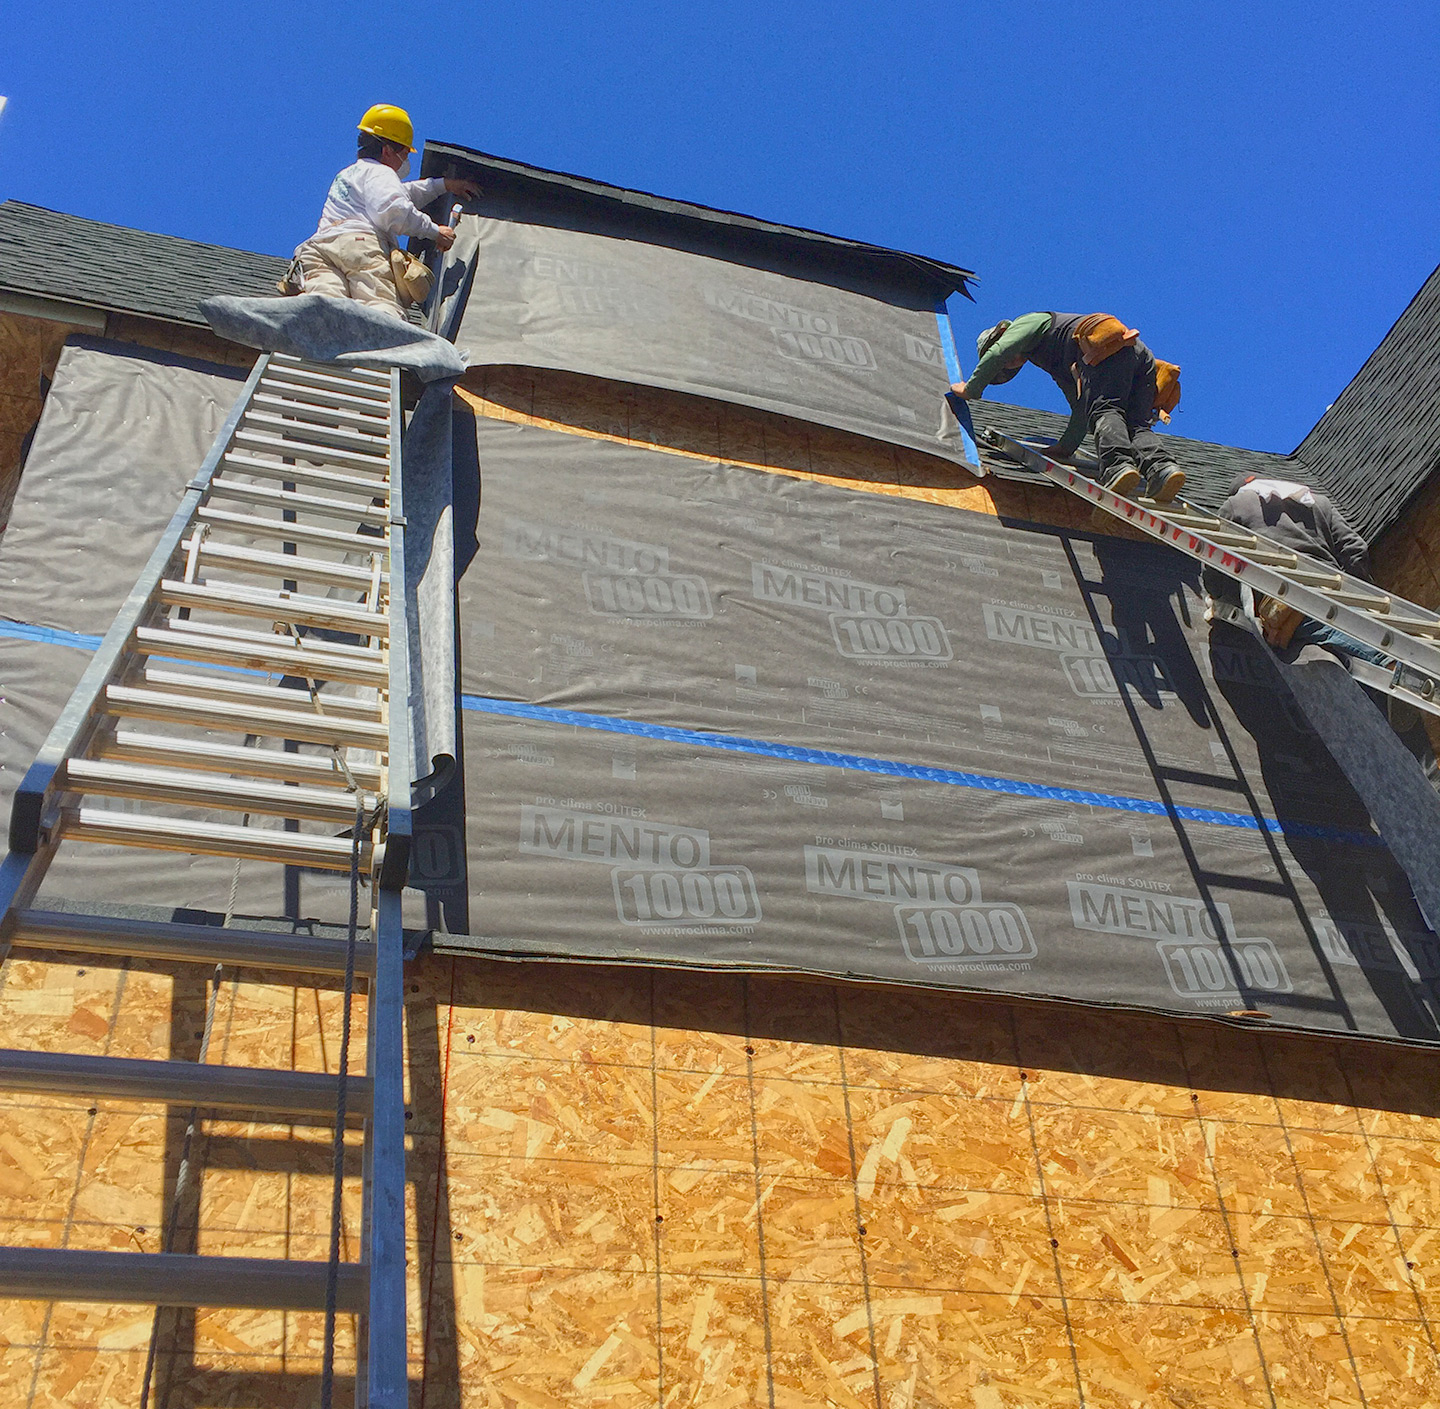
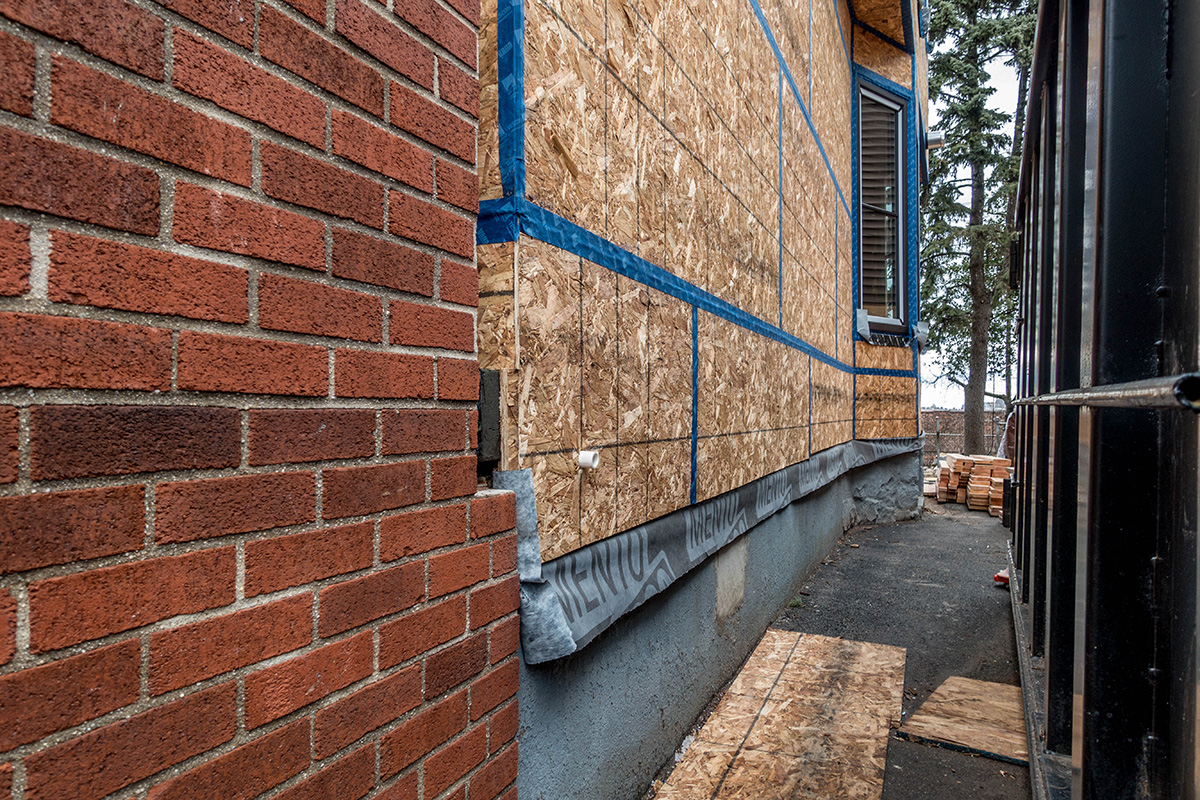
The exterior sheathing is wrapped with Solotex Mento to act as a water barrier as well as an additional air barrier. It is a breathable membrane that has the ability to protect the wood sheathing and frame from exterior moisture while providing added air tightness to the structure. It’s like wearing a belt… and suspenders!
Being that this is a retrofit, the connection where the sill plate meets the concrete foundation are very challenging and this is one area that you get a ton of air infiltration in your home.
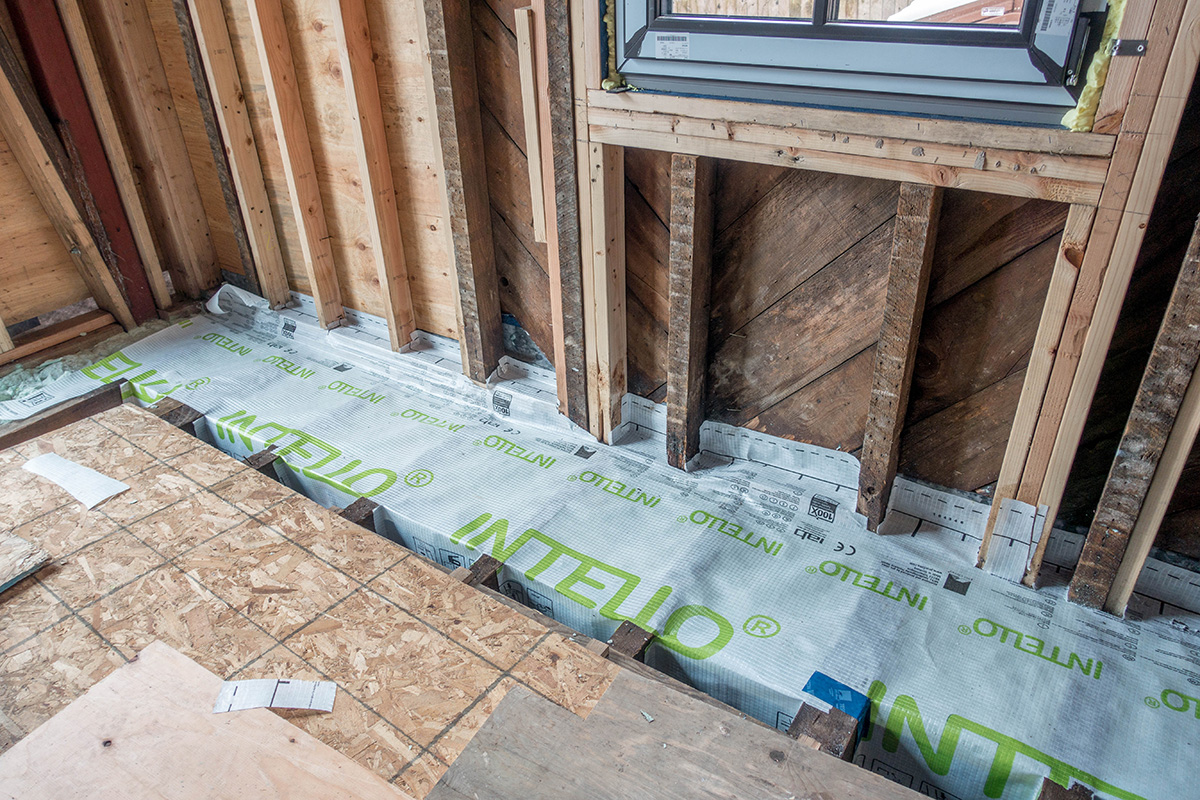
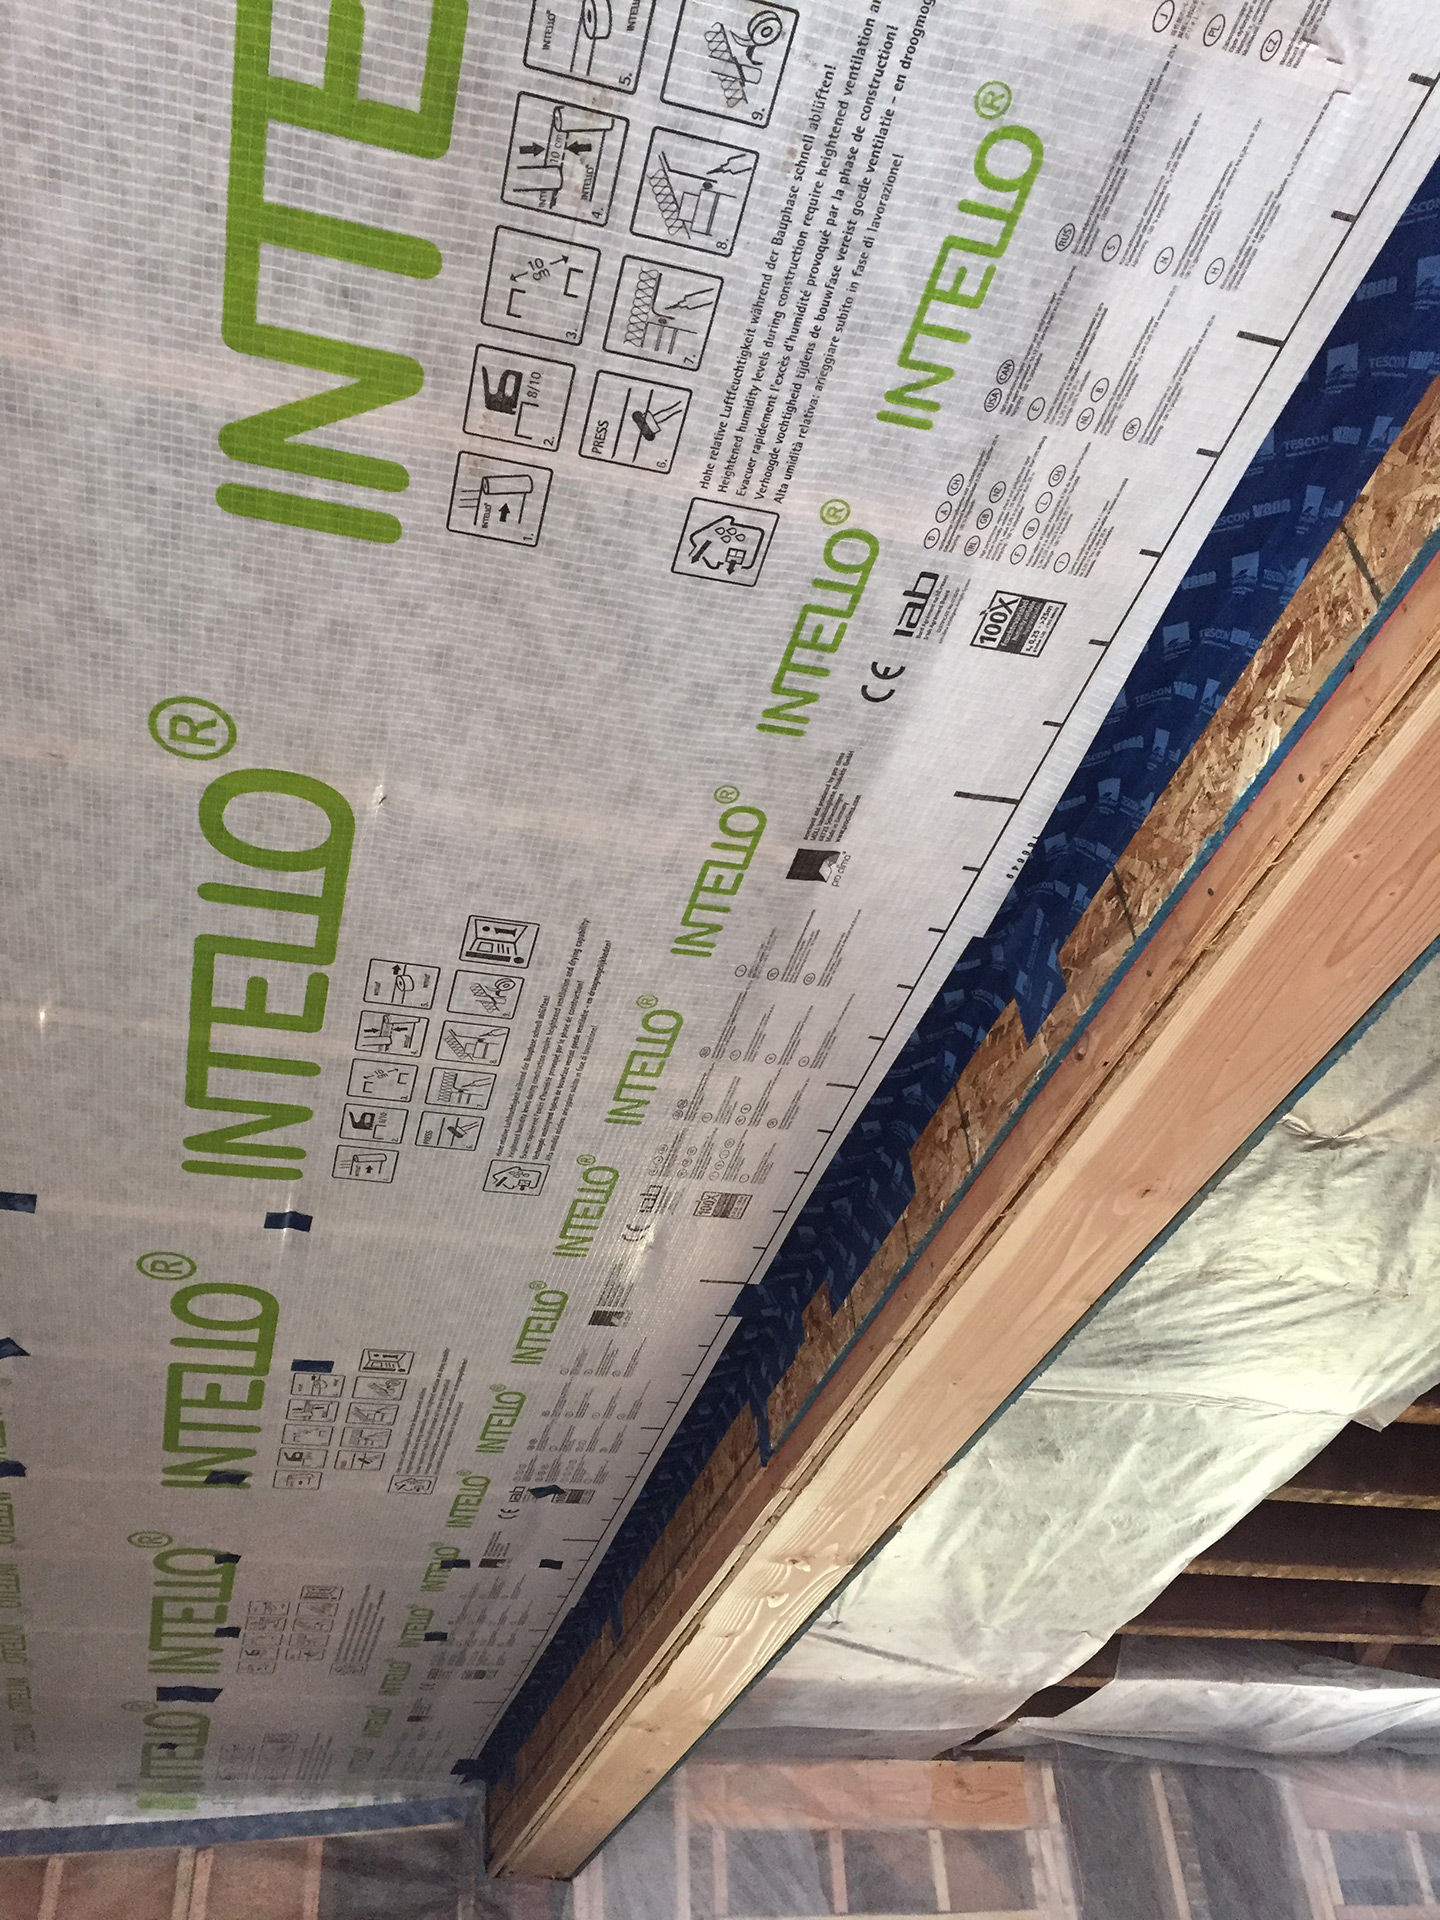
On the interior, the air sealer uses a product called Intello which provides airtightness that also controls vapor and can act as a membrane for the insulation. This installation is where the job can get tedious and the extra efforts really pay off. In the picture below, you can see the contractor has to cut around each floor joist and then adhere the Intello around the seams.
 In harder to reach places, closed cell spray foam insulation is used to act as the air barrier. It is not used everywhere because it can shrink in the future and cause leaks at its perimeter.
Once the air sealing is completed, a blower door test is performed where the house is depressurized with a fan sucking all the air out of the house and then you can go through the house and actually feel the air flow in reverse to seek out any leaks. We will touch on this procedure in a later post as it’s a great tool for anyone to find where they are getting the most air infiltration in their own house.
Air sealing is the one process that adds the most time to a passive project when compared to a traditional build. However, it’s a critical step toward a Passive approach and ultimately the payoff will be huge, not only in heating and cooling costs but also the level of continual comfort within the home.
In the next part, we will take a detailed look at the windows and how they play into the building science.


